Host your Site on GitHub
Last updated on 2025-07-21 | Edit this page
Estimated time: 22 minutes
Overview
Questions
- How can I freely host my web app online?
Objectives
- Create a GitHub account.
- Upload your web app files to a GitHub repository.
- Make your web app publicly accessible with GitHub pages.
Background
We’ve invested a lot of time and effort to building our web app. Now its time to deploy it to the internet! In this episode, we will use GitHub pages to freely host our web app files online and GitHub Pages to serve our site to the public at large.
What is GitHub?
GitHub is a platform where developers create, store, manage, and share their code. Its power lies in that it tracks every change you make to your code, essentially letting you “time travel” back to any previous version of your project. We call this time traveling “version control,” and it is made possible by Git, the underlying system that records every change you make to your files. Over time, GitHub has expanded its services and now offers one called GitHub Pages, which allows you to host websites directly from your GitHub account for free.
Create a GitHub Account
To begin, you’ll need to create a free GitHub account.
Go to github.com and click
Sign UpNext, enter your email then create a password and username. This username is very important as it is your unique identifier for your profile and projects, and a key for hosting your site through GitHub Pages.
Upload your Files to a Repository
Web projects tend to be composed of several files including HTML and
JavaScript documents as well as image, video, and text files. GitHub
stores all project files in a container called a repository. We call
respositories repo for short.
Before we can launch our site, we need to create a repo in which we will store all of our project files.
Create Your First Repo
Click on your User Profile, the circle in the top right corner of the screen.
Select
Your RepositoriesNow click the big green
Newbutton on the top of the page.

-
Next, you will be prompted to configure your repository:
Click
Create repositoryat the bottom of the page.
These steps above have guided you on how to create an empty repo. Now we will upload our web app files to the repo:
Next to the green
Codebutton, clickAdd filethen selectUpload files.Now drag and drop the HTML, CSS, and JavaScript files we’ve worked on in the previous episodes.
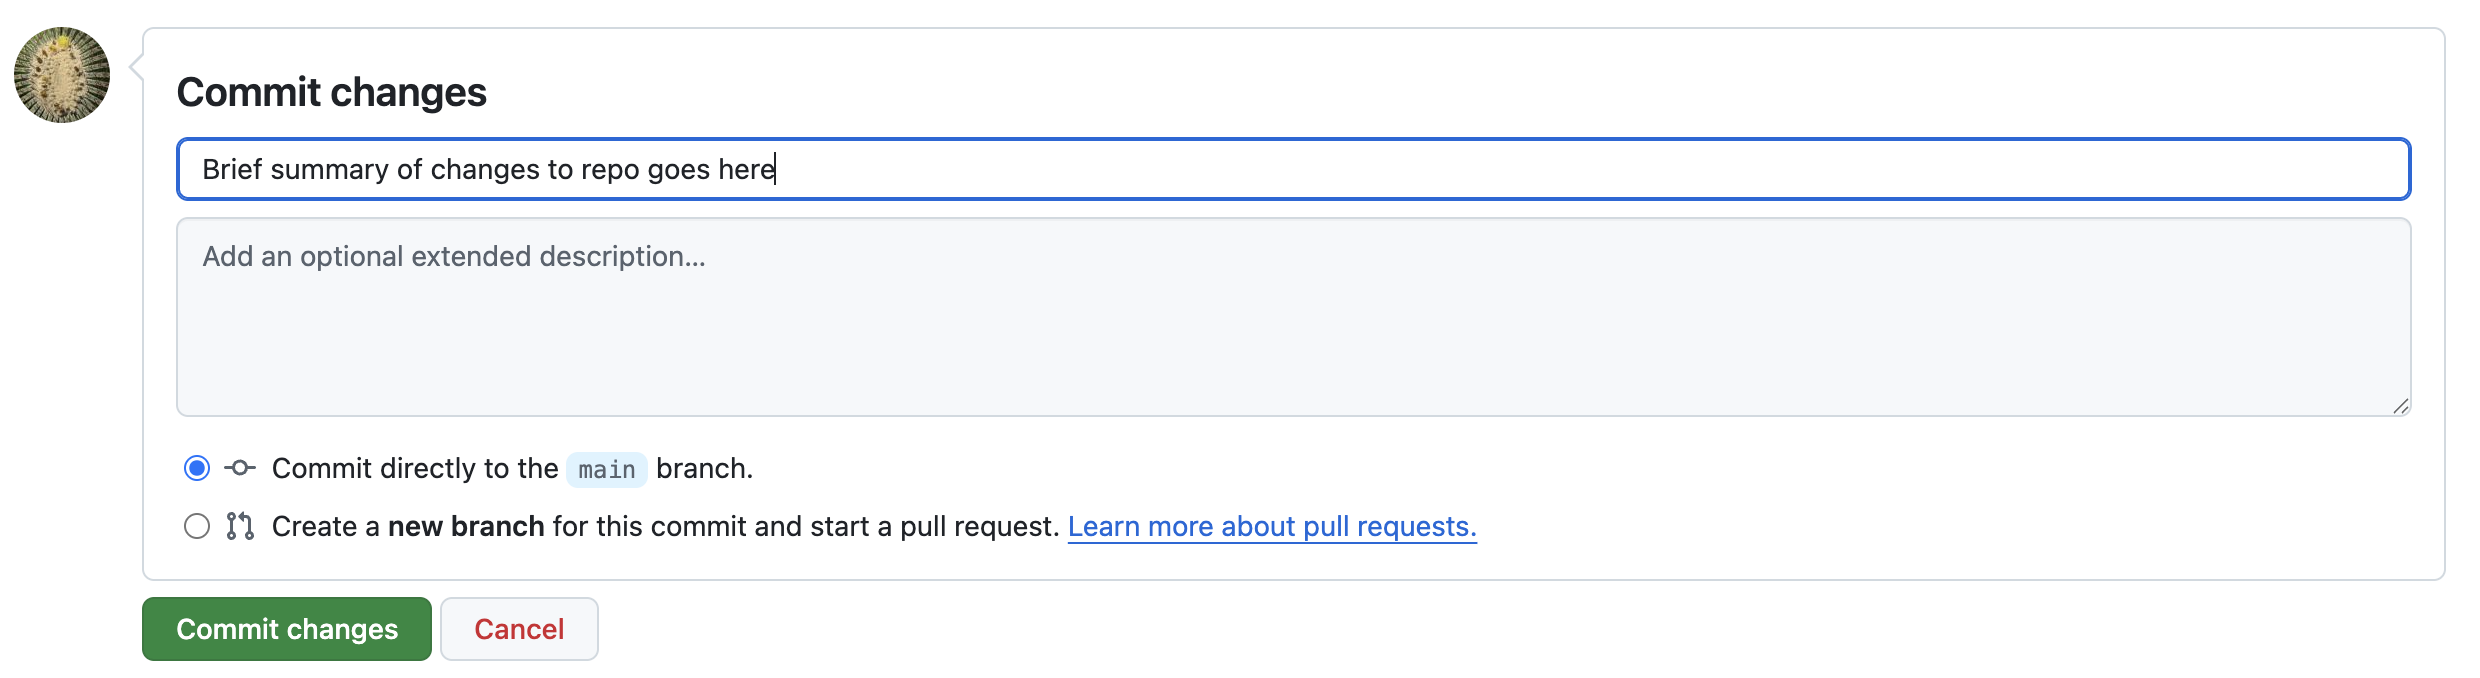
When we add files or make changes to files, Git (which manages GitHub’s version control system) calls this confirmation step a “commit.” In other words, we are committing to making these changes to the repo. It is customary to briefly summarize your changes when you commit them to the repo. You’ll do this in the first text field as seen in the screen shot below. Another custom is to write “First Commit” when you commit documents to a repo for the first time. These commit comments essentially label each change you make to your code. Go ahead and write “First Commit” in the top text field and click the green “Commit changes” button.
Congratualtions! You’ve just commited your first code to GitHub! All your hard work on the web app is now saved to the repo and you can share it with your friends and colleagues.
Deploy with GitHub Pages
GitHub Pages will use the documents in your repo to create a publicly accessible website for free.
- Click on the settings tab on the top navigation bar above your repo.

On the left side of the page, go to
Code and automationand clickPages.Under
Branchclick the drop down menu that is displayingNoneand selectmaininstead. Then clickSave.GitHub Pages will take a few moments to launch your site. Don’t navigate away from this page, wait for GitHub pages to generate the URL for your site. It will look like: https://[yourUserNameHere].github.io/webbapp
Now your webapp has a publicly accessible URL! Congratulations on deploying your web app! You can now share this URL with anyone to showcase your work.