Adding a Contact Us form using Calendly
- Log-in to Calendly
- Navigate to “Routing” section of Calendly website
- Find the form you want to add to the website.
- This tutorial will use “IMLS Meeting” form in the red box.
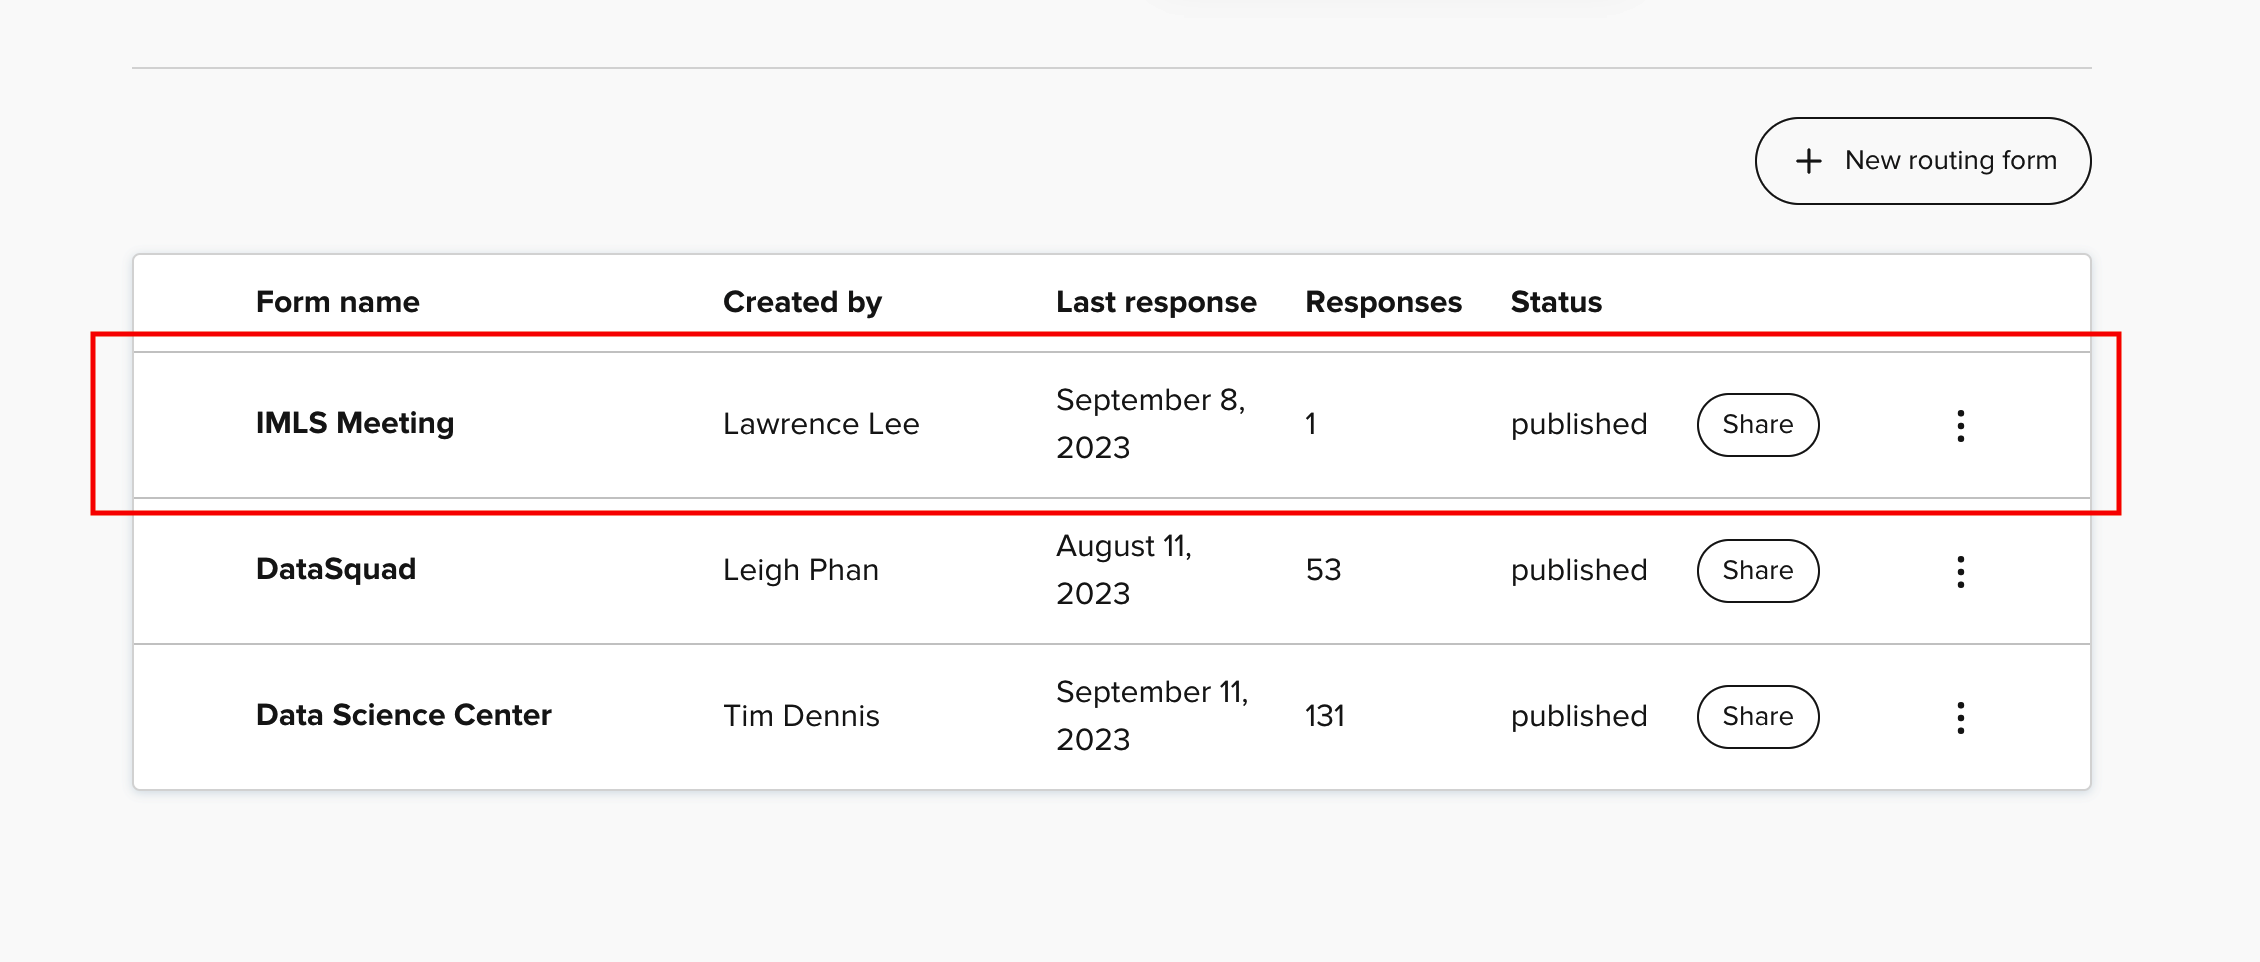
- Click on the “Share” button of the form.

- In the pop-up, click on the “Add to website” tab and select “Inline Embed”
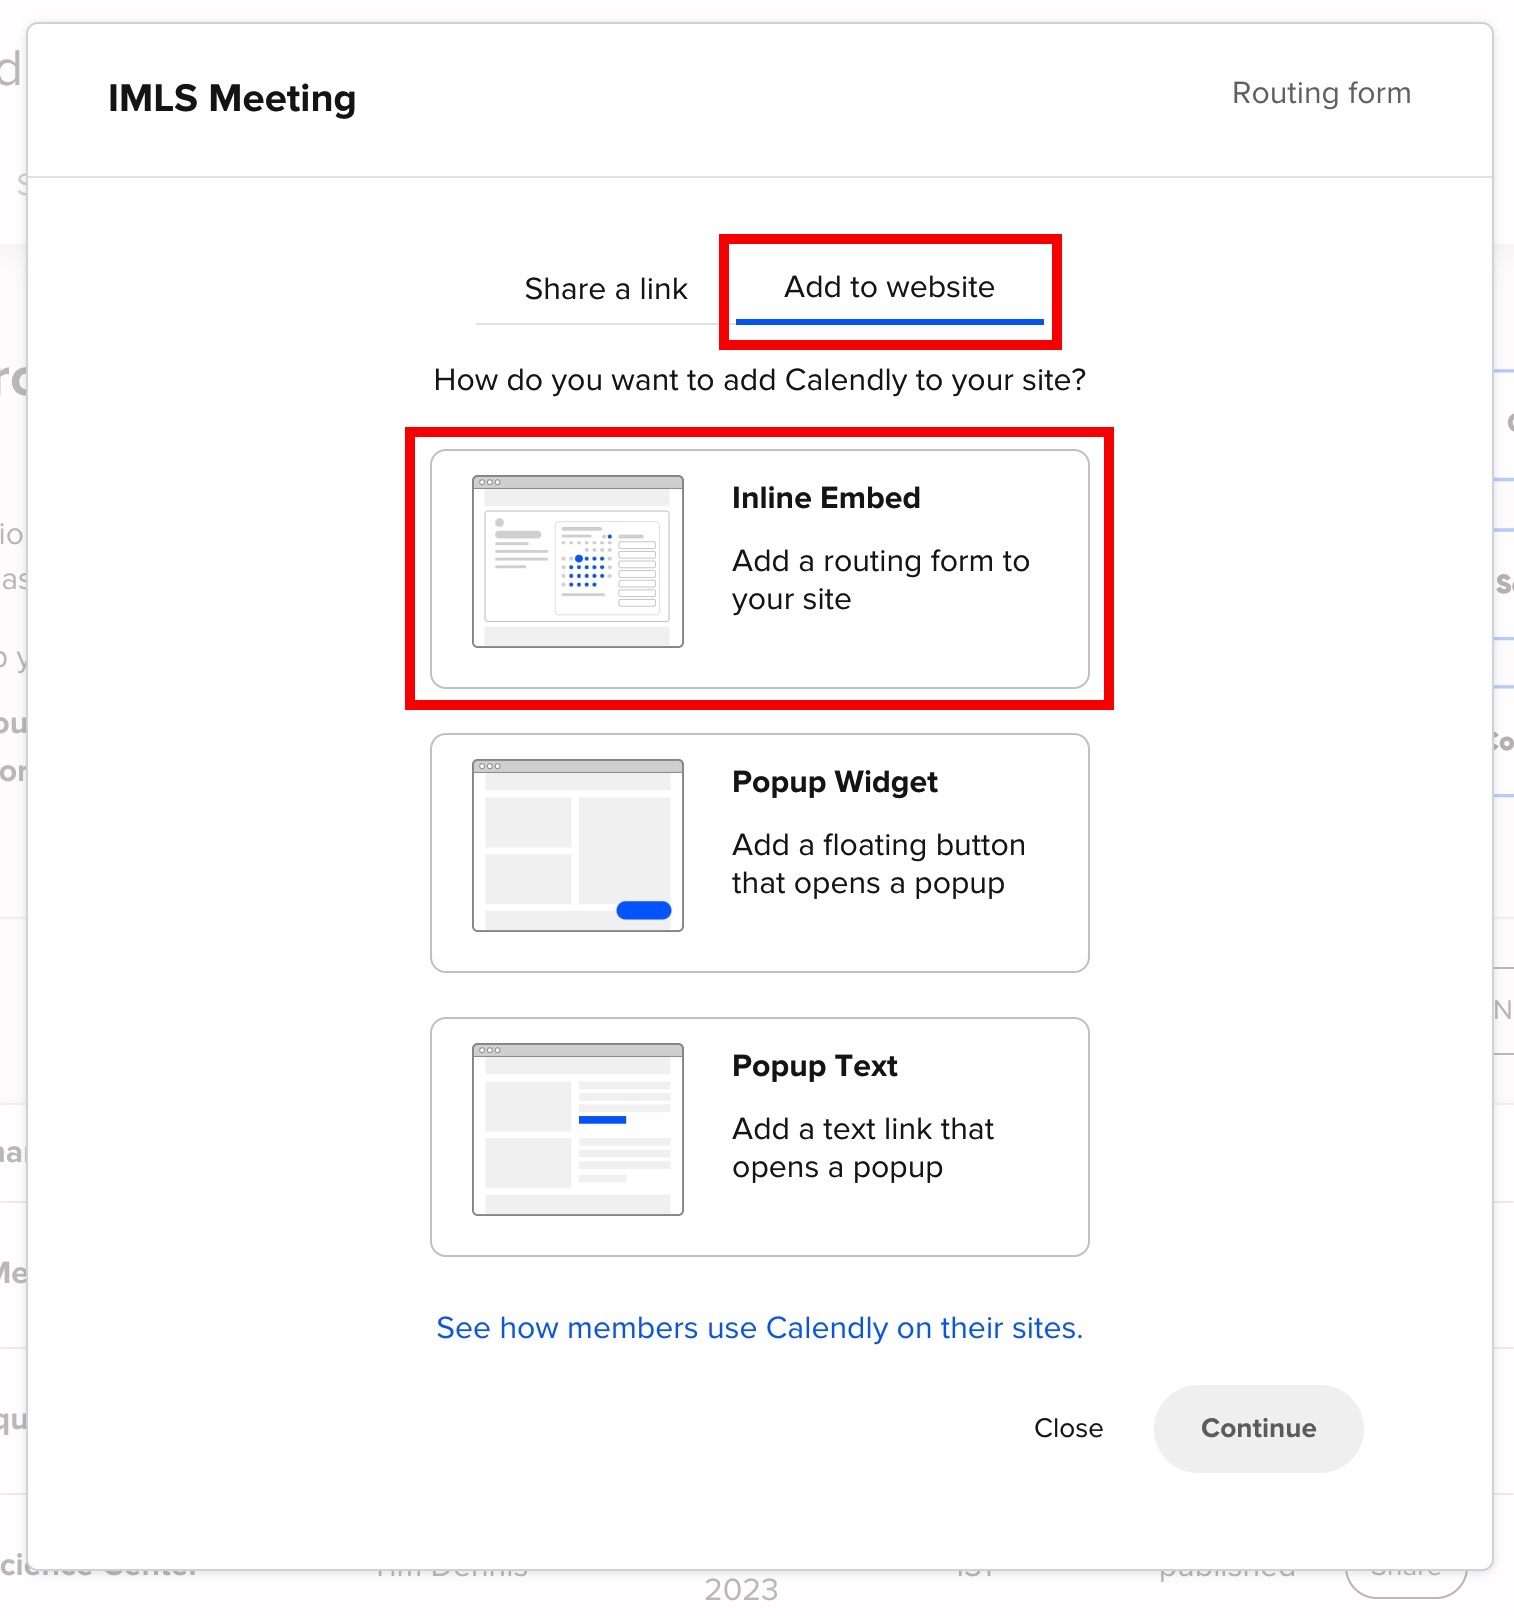
-
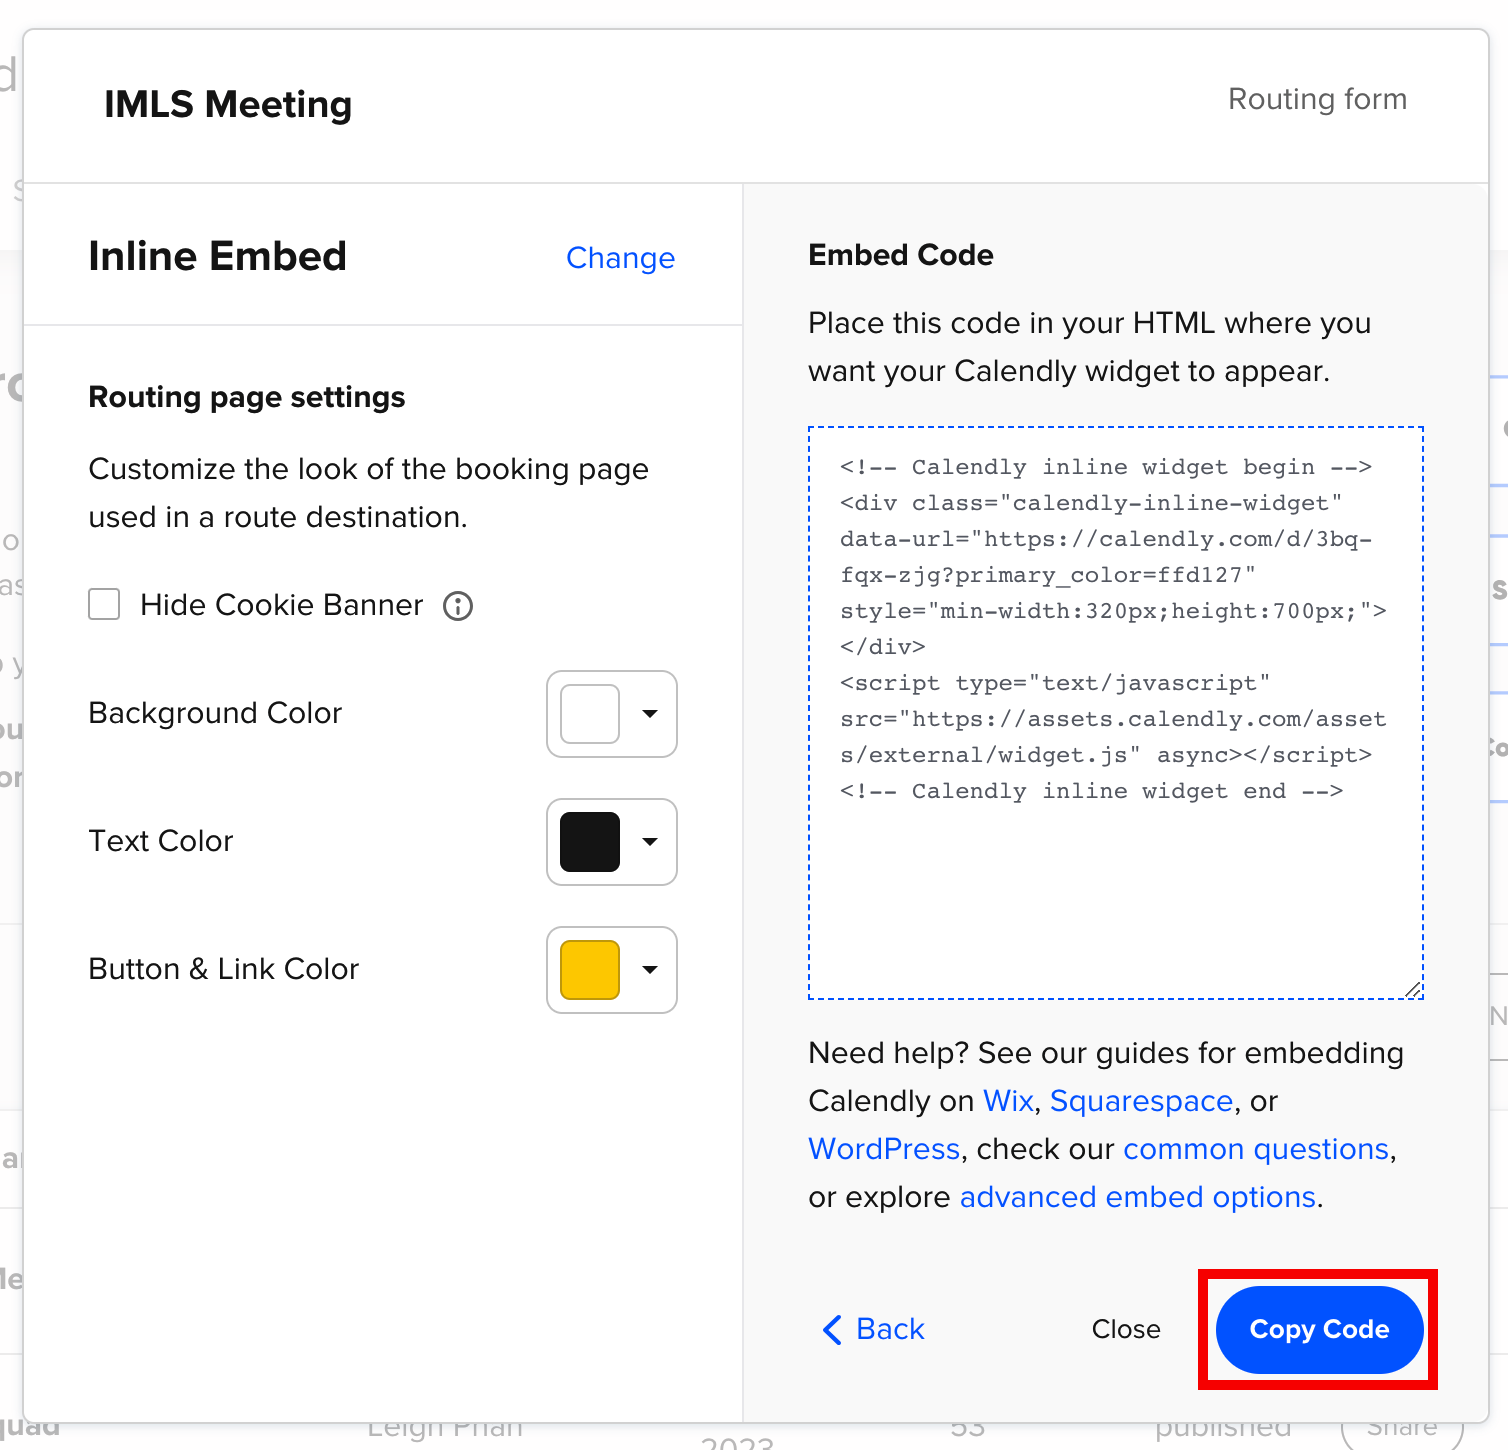
Customize the colors as you desire, and copy the code provided using the “Copy Code” button at the bottom right
- Navigate to the repository of your website.
- In the
_includesfolder, create a newhtmlfile.- I will refer to the file name as
[your-file-name].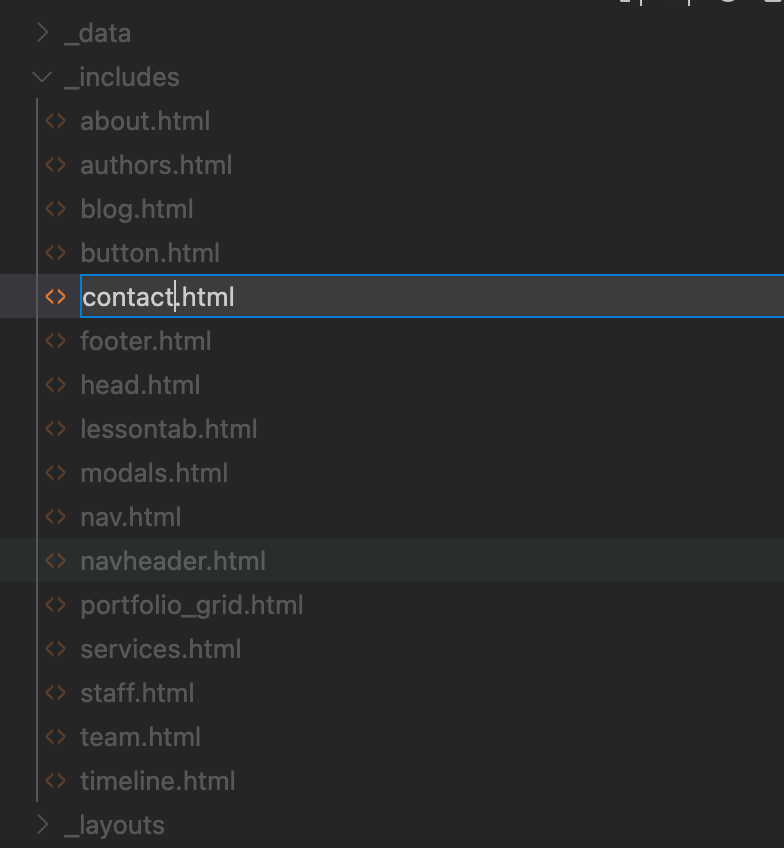
- I will refer to the file name as
- Paste the code below into the
[your-file-name].htmlfile you created.- Delete the line
<!-- PASTE YOUR CODE HERE -->and paste the code that you copied from Calendly.
<section class="bg-light page-section" id="{{ site.data.sitetext[site.locale].contact.section | default:"contact" }}"> <div class="container"> <div class="row"> <div class="col-lg-12 text-center"> <h2 class="section-heading text-uppercase">{{ site.data.sitetext[site.locale].contact.title }}</h2> </div> </div> <!-- PASTE YOUR CODE HERE --> </div> </section> - Delete the line
- In the
_data/navigation.ymlfile, add a new title and section under thenavsection.- title: "Contact Us" section: [your-file-name]- IMPORTANT: Make sure that the
section:name matches the name of the html file[your-file-name]that you created!!
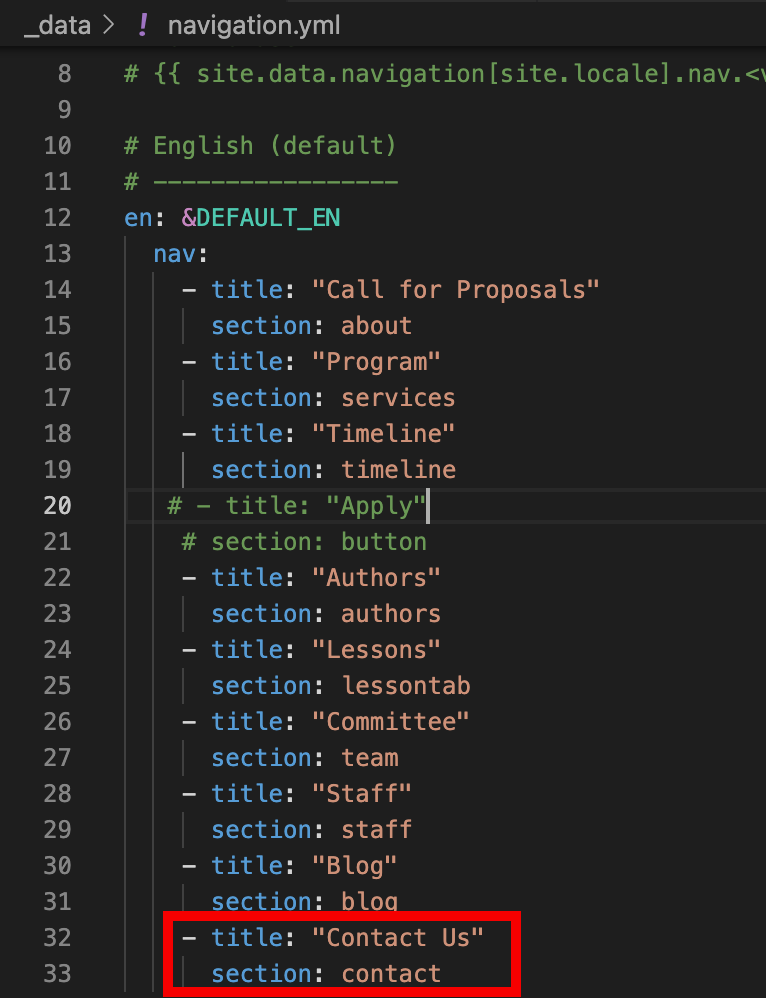
- IMPORTANT: Make sure that the
- In the
_data/sitetext.ymlfile, add the following text.- Make sure
titleandsectionis indented as shown in the image below.[your-file-name]: title: "Contact Us" section: [your-file-name] - IMPORTANT AGAIN: Make sure that the
section:name matches the name of the html file[your-file-name]that you created!!
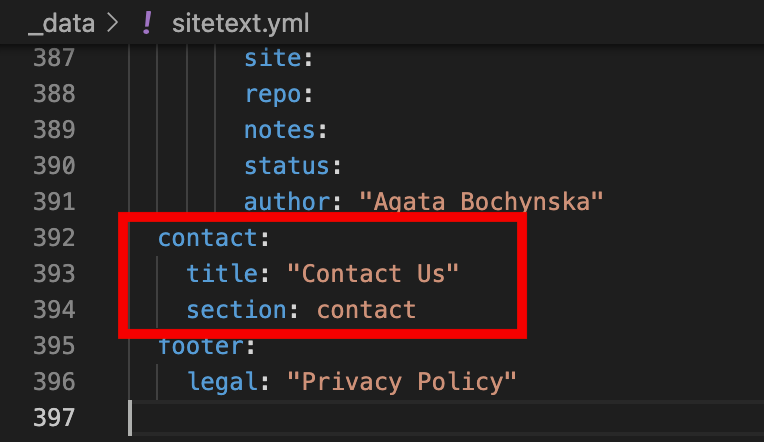
- Make sure
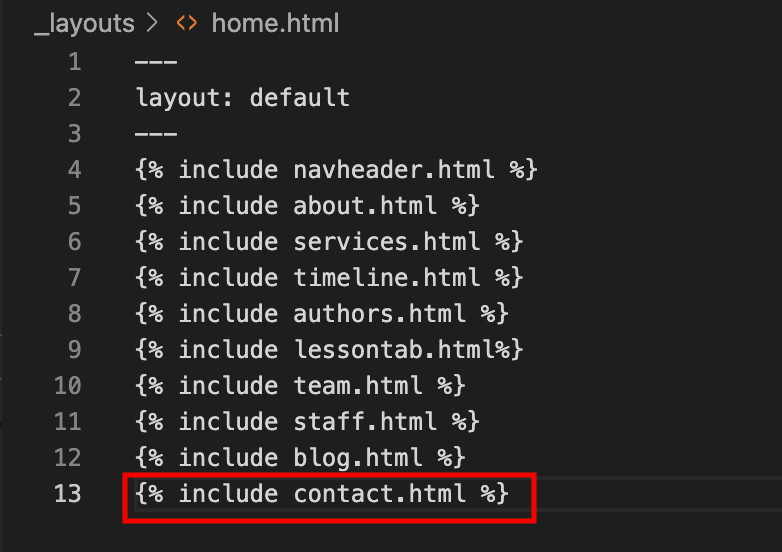
-
In the
_layouts/home.html, add{% include [your-file-name].html %}.
-
You should be able to see your form on the website. (example)
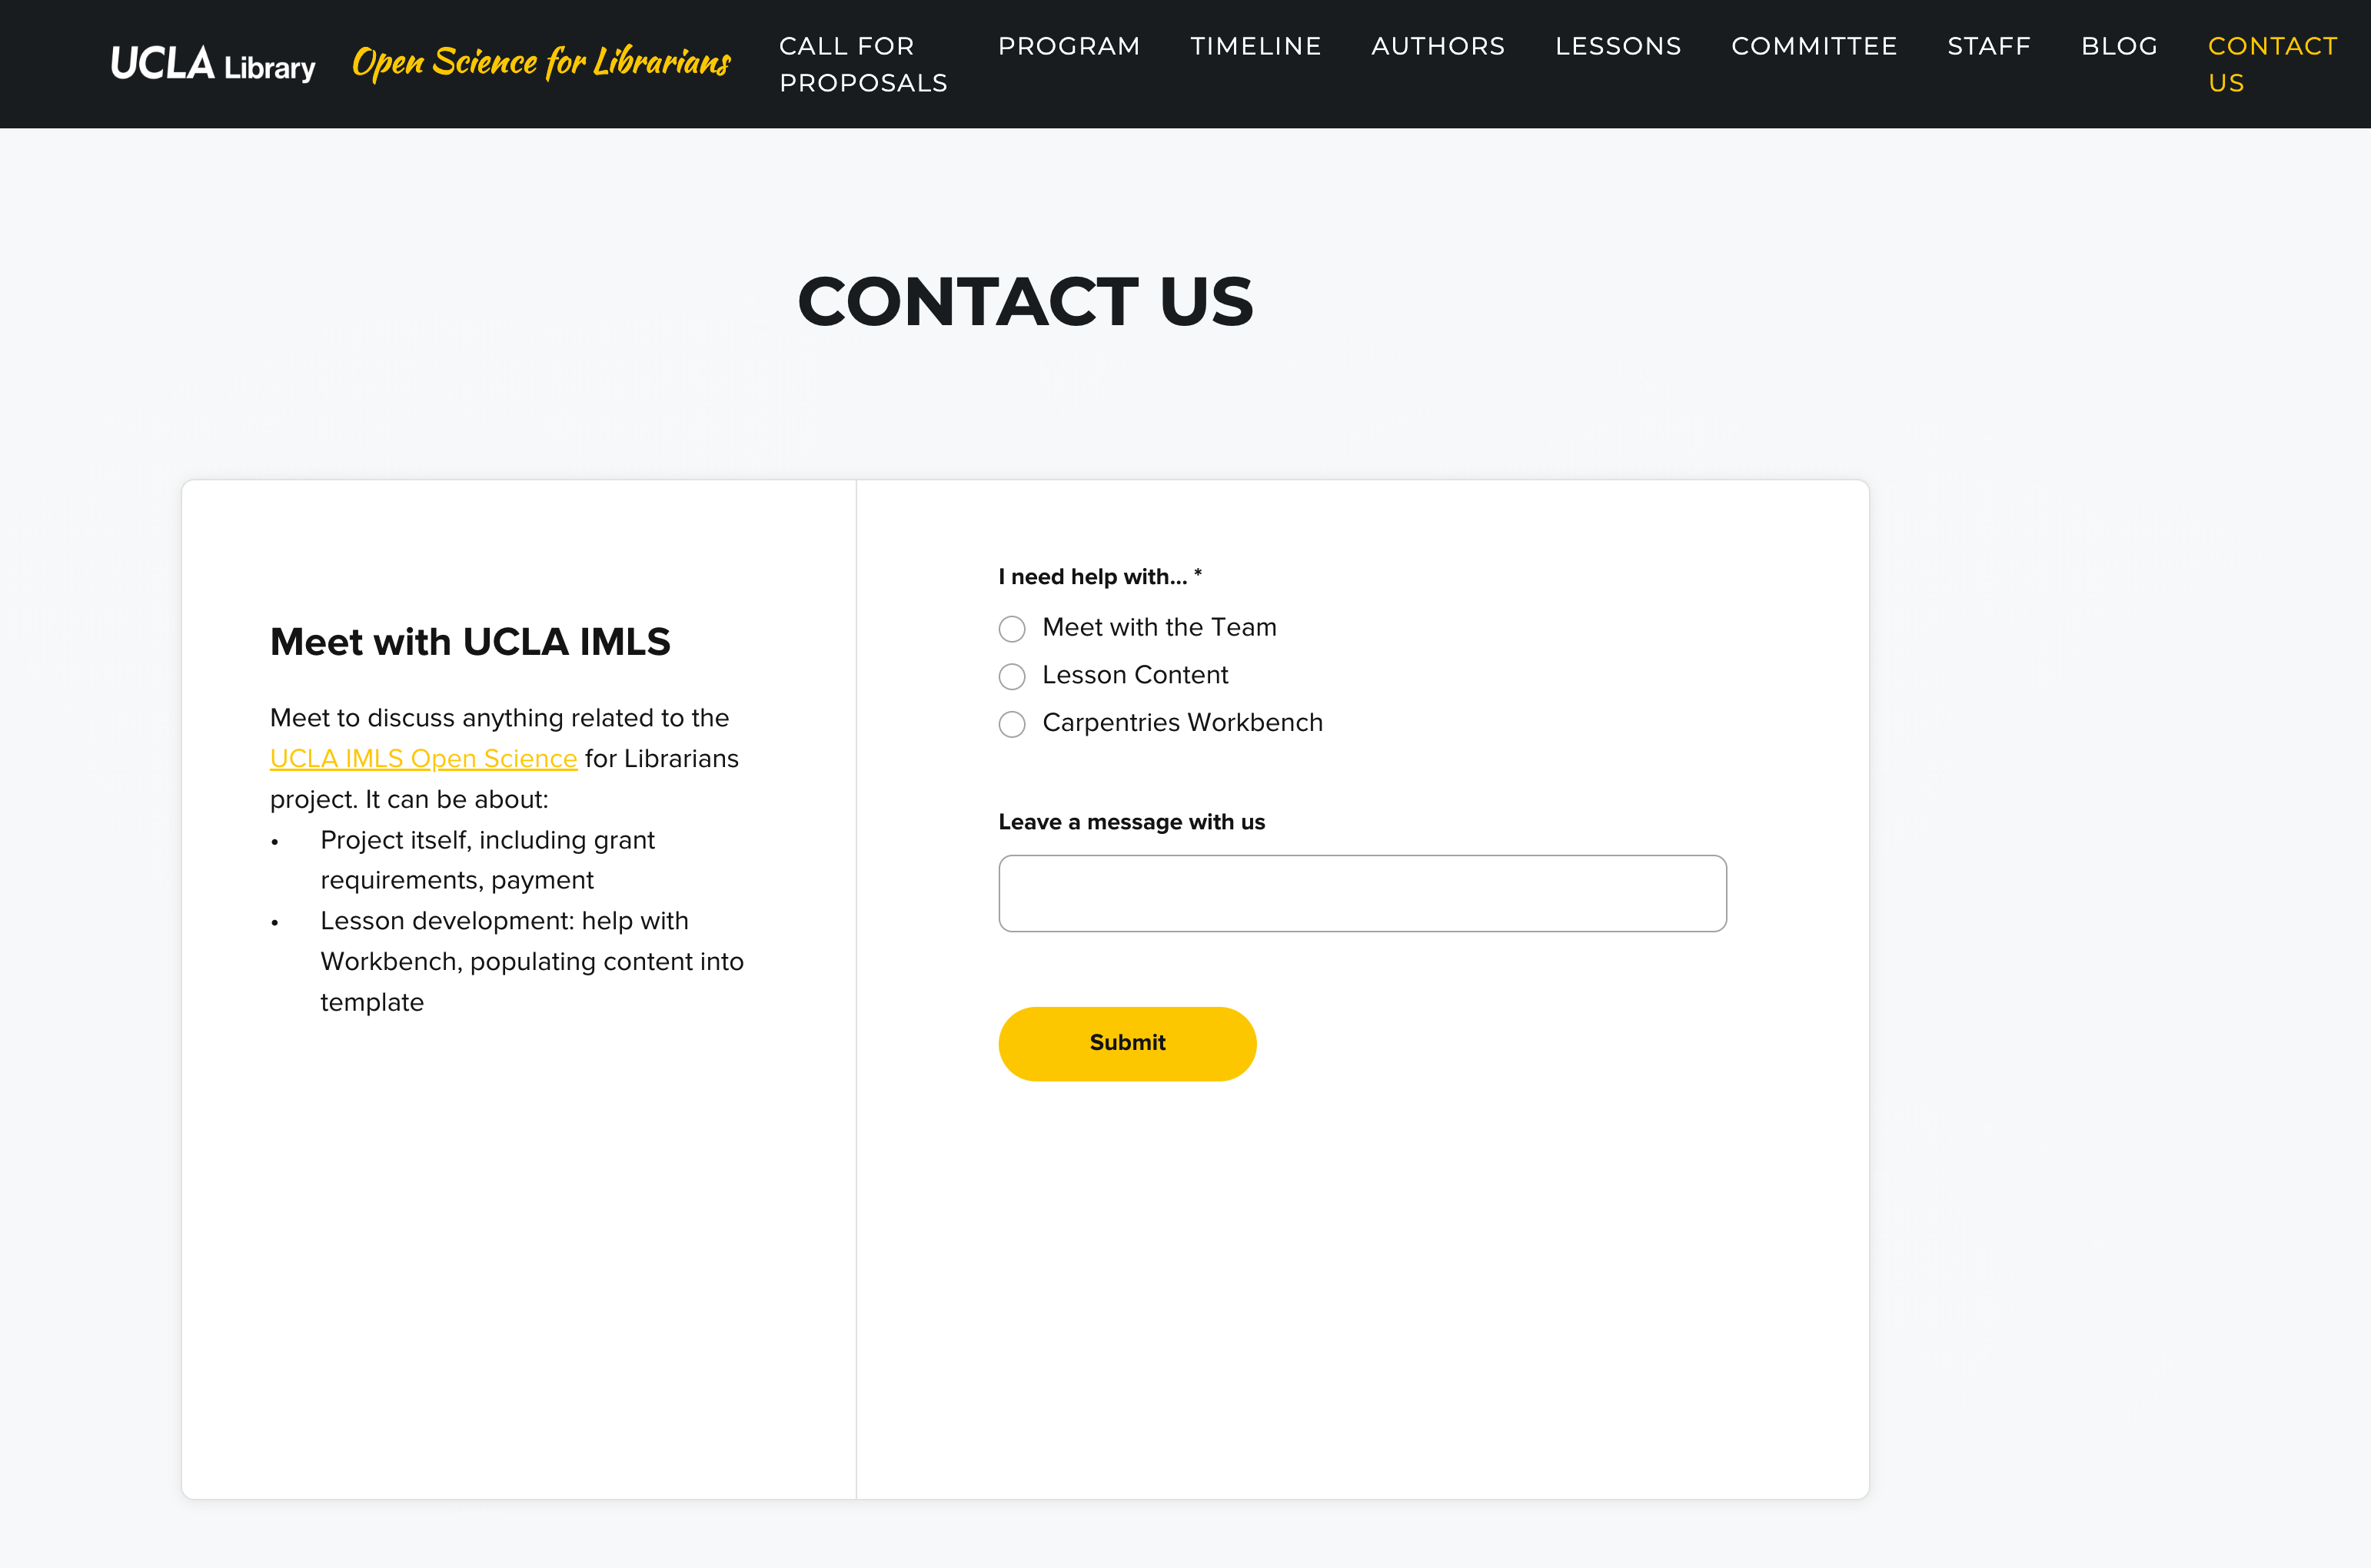
- Congrats! You just added a new Calendly Contact Us form to the website!! 🎉👏👏👏