Jekyll
This documentation is to help you setup jekyll on your local machine and download the right rubygems and ruby.
Table of contents
MacOS
This is the documentation for setting up Jekyll on your local Mac environment. First you need to setup “rbenv.”
Rbenv
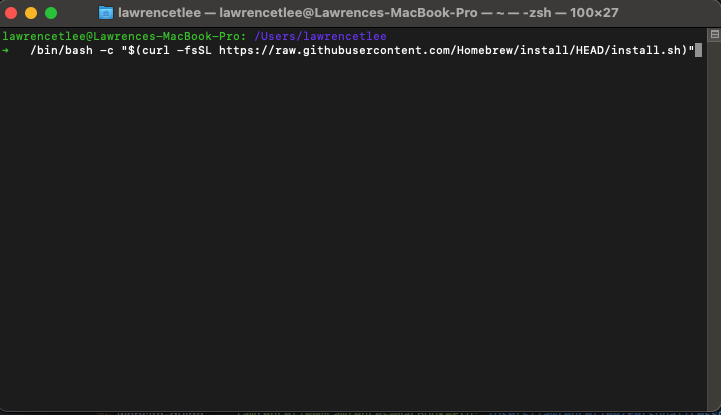
First you must have homebrew installed. To download homebrew, run the following command in your terminal:
/bin/bash -c "$(curl -fsSL https://raw.githubusercontent.com/Homebrew/install/HEAD/install.sh)"
After downloading homebrew you can then run the following commands to download and initialize rbenv.
brew install rbenv
rbenv init
Now if you are using a zsh shell you run the following command:
echo 'eval "$(rbenv init -)"' >> ~/.zshrc
If you are running a bash shell then you run the following command:
echo 'eval "$(rbenv init -)"' >> ~/.bash_profile
If you are unsure what shell you are using run the following command to see then go to the steps above:
echo $SHELL
After running these commands, either restart your terminal or run the following code:
For bash: source exec bash
For zsh: source ~/.zshrc
Note: If these commands don’t work restart your terminal.
Now you can install the latest versions of ruby using rbenv. You can view installable versions by running the command:
rbenv install -l
After you run that command pick a version starting with 3. For most cases you can install ruby 3.2.2:
rbenv install 3.2.2
After you’re done install run:
gem install jekyll
Now when you are in a jekyll-site locally in your IDE of choice, you can run the following commands to preview your changes locally:
bundle install -> RUN THIS THE FIRST TIME YOU USE IT
bundle exec jekyll serve